Add new attachment
Only authorized users are allowed to upload new attachments.
List of attachments
This page (revision-18) was last changed on 27-Feb-2024 20:27 by DylanzuDS
This page was created on 01-May-2022 12:18 by Xgone
Only authorized users are allowed to rename pages.
Only authorized users are allowed to delete pages.
Outgoing links
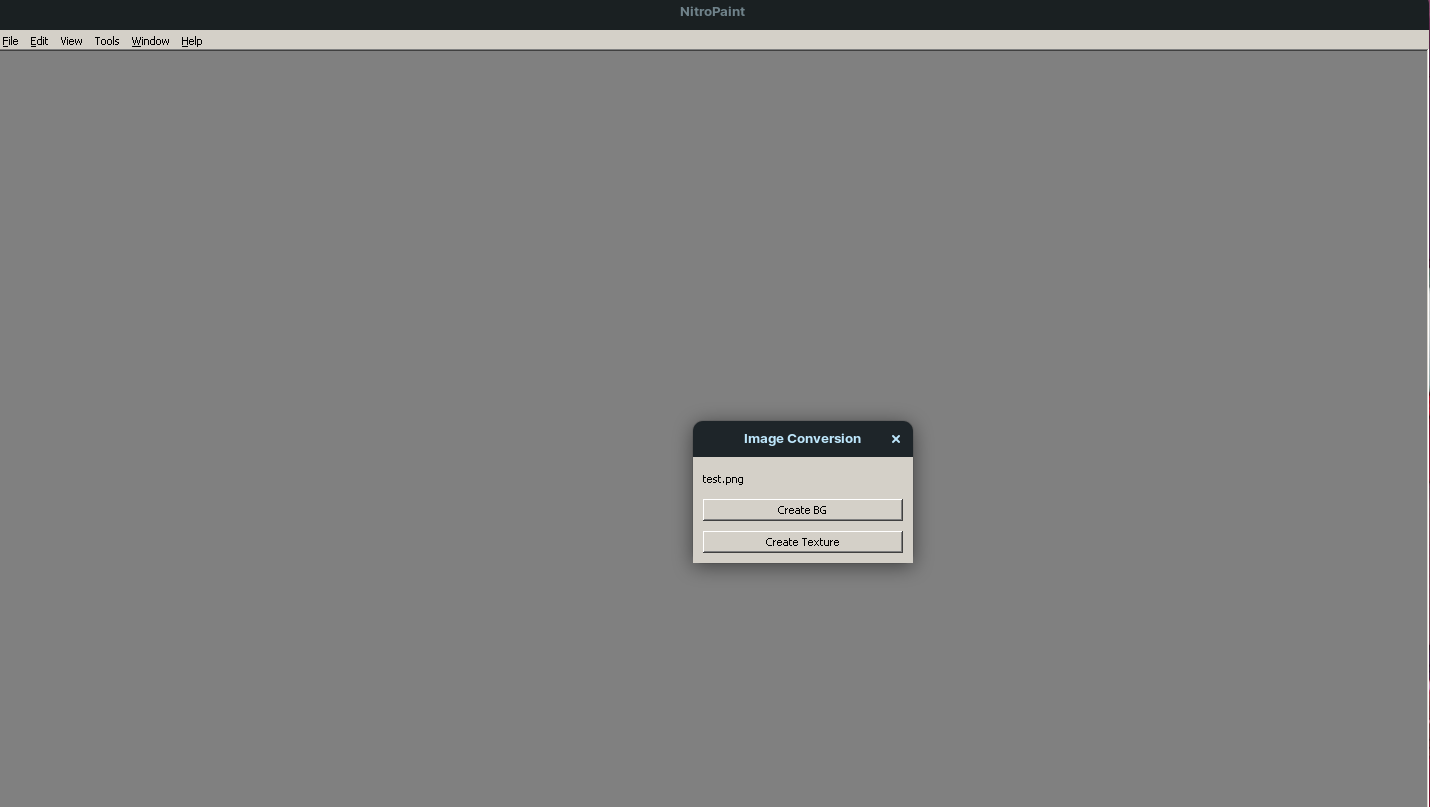
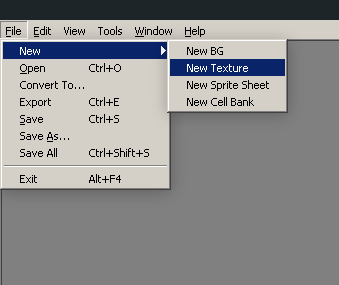
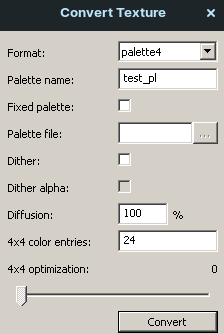
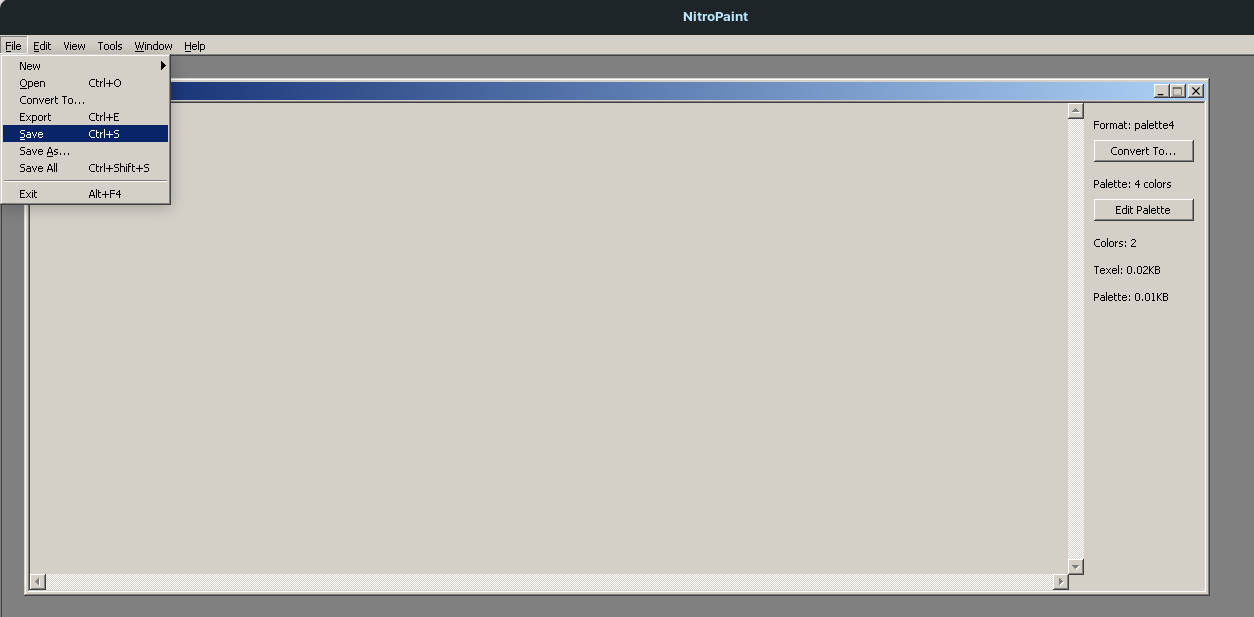
How to use mkds tools on a linux distribution
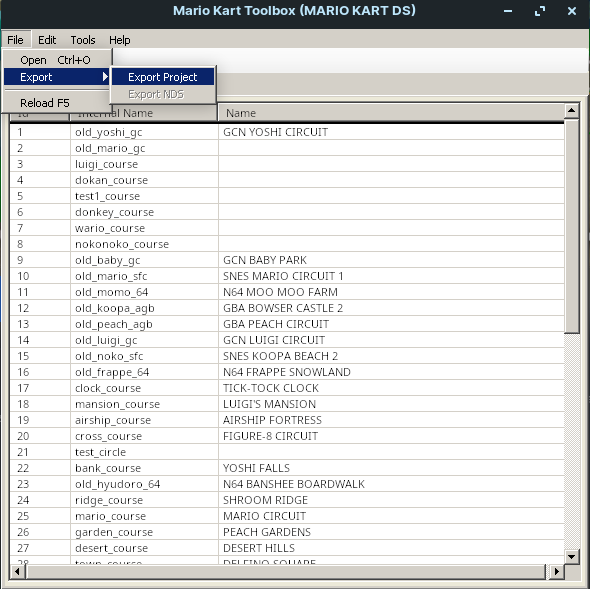
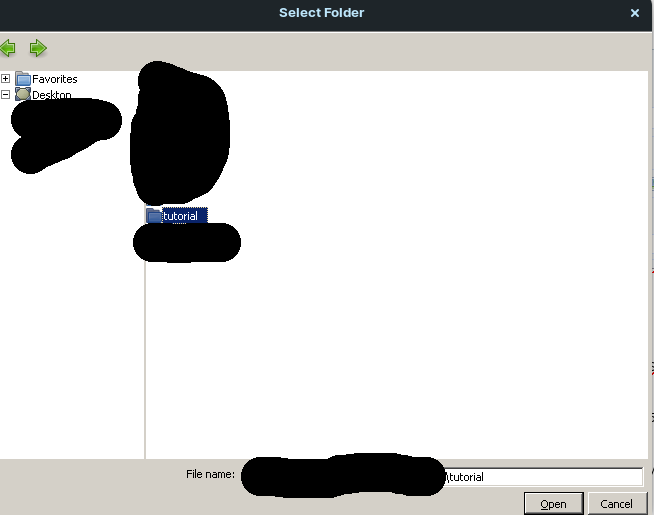
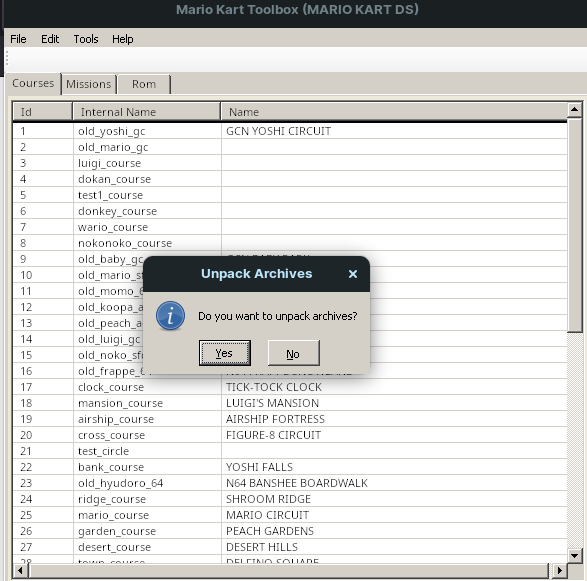
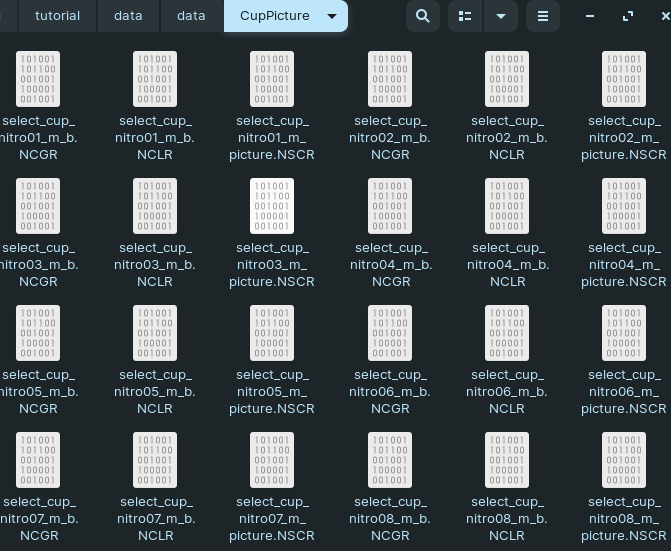
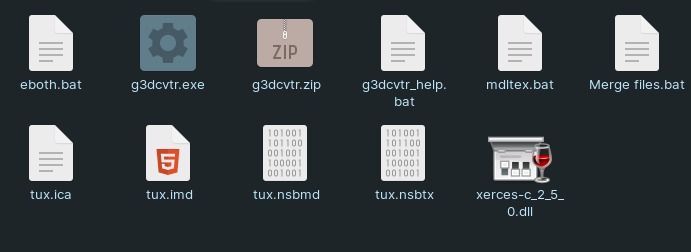
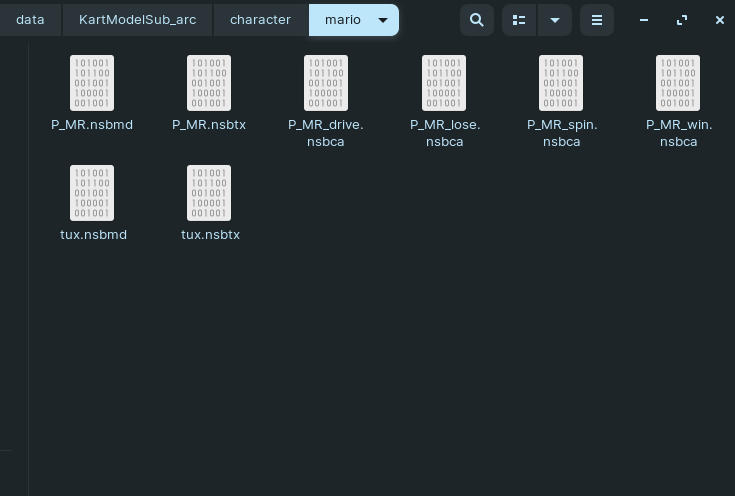
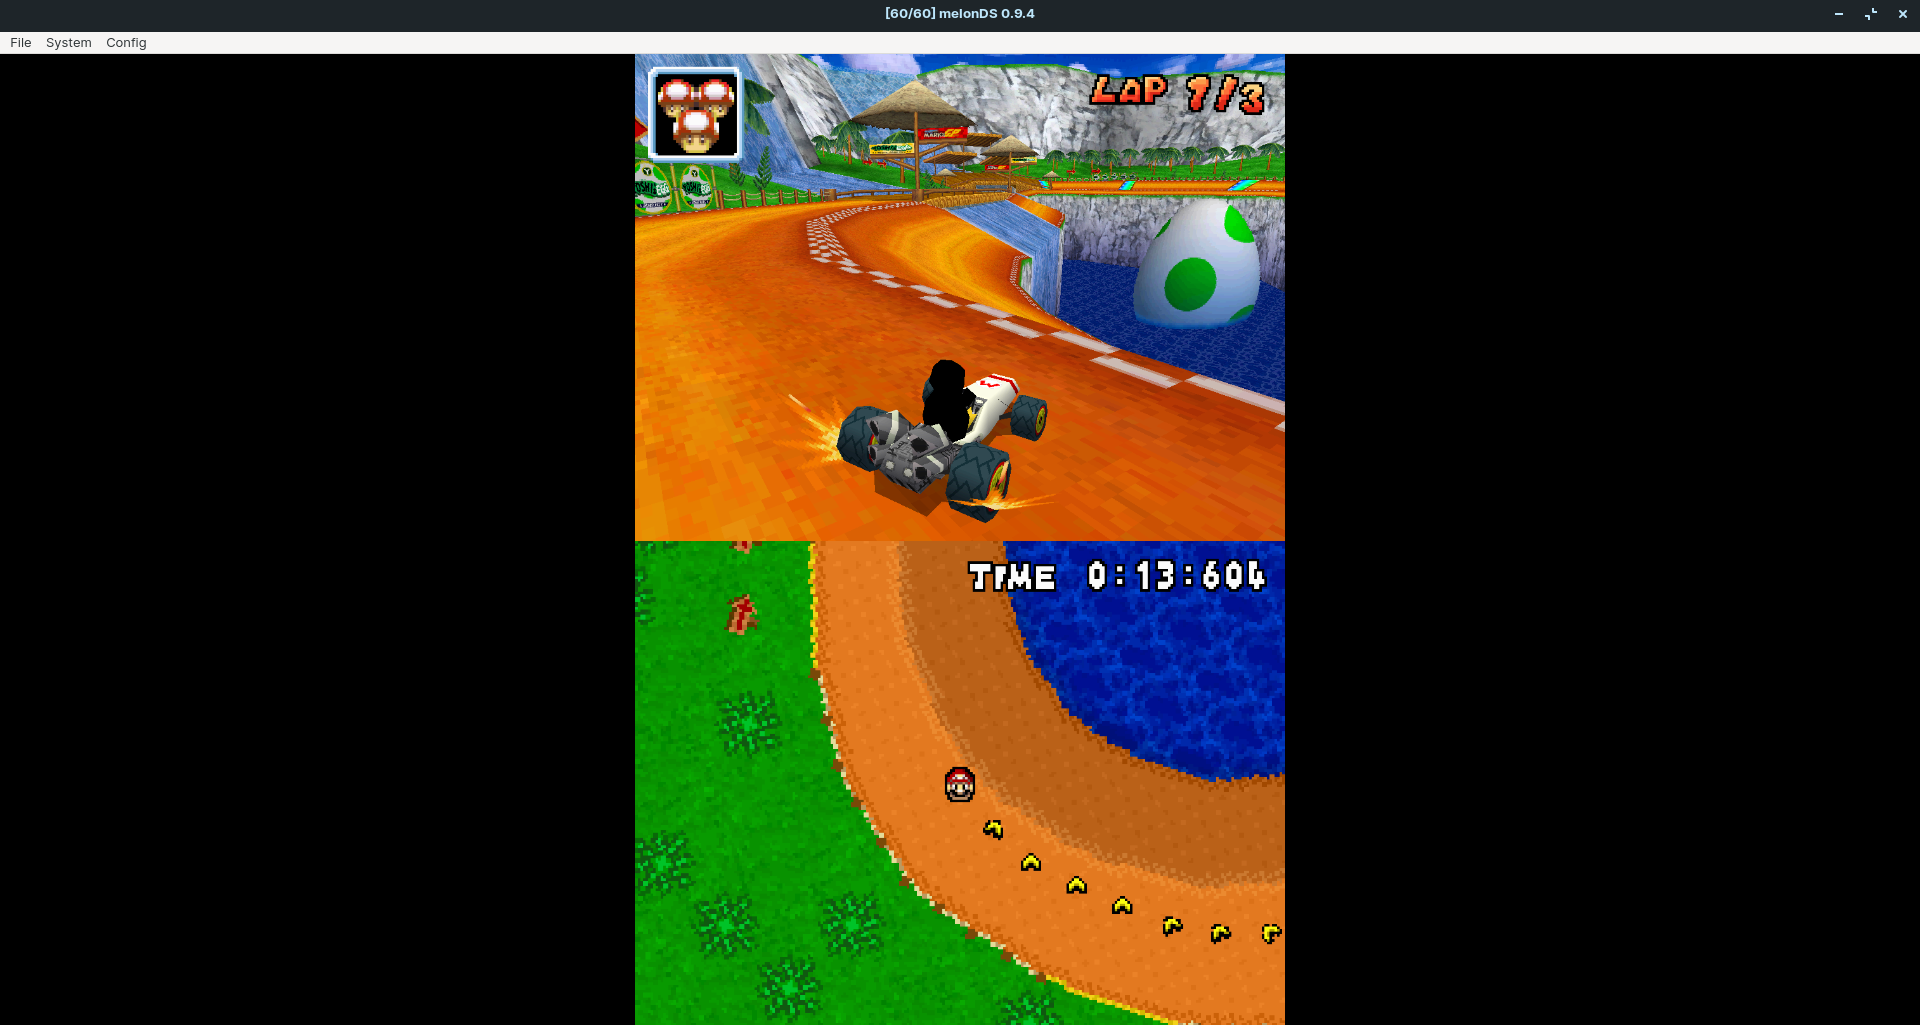
- How to use mkds tools on a linux distribution/Screenshot_from_2022-05-01_13-37-27.png
- How to use mkds tools on a linux distribution/Screenshot_from_2022-05-01_13-37-35.png
- How to use mkds tools on a linux distribution/Screenshot_from_2022-05-01_13-38-15.png
- How to use mkds tools on a linux distribution/Screenshot_from_2022-05-01_13-58-03.png
- How to use mkds tools on a linux distribution/Screenshot_from_2022-05-01_13-59-27.png
- How to use mkds tools on a linux distribution/Screenshot_from_2022-05-01_14-04-48.png
- How to use mkds tools on a linux distribution/Screenshot_from_2022-05-01_14-07-27.png
- How to use mkds tools on a linux distribution/Screenshot_from_2022-05-01_14-11-14.png
- How to use mkds tools on a linux distribution/Screenshot_from_2022-05-01_14-11-22.png
- How to use mkds tools on a linux distribution/Screenshot_from_2022-05-01_14-20-13.png
- How to use mkds tools on a linux distribution/Screenshot_from_2022-05-01_14-30-17.png
- How to use mkds tools on a linux distribution/Screenshot_from_2022-05-01_14-33-21.png
- How to use mkds tools on a linux distribution/Screenshot_from_2022-05-01_14-33-29.png
- How to use mkds tools on a linux distribution/Screenshot_from_2022-05-01_14-34-57.png
- How to use mkds tools on a linux distribution/Screenshot_from_2022-05-01_15-19-30.png
- How to use mkds tools on a linux distribution/Screenshot_from_2022-05-01_15-19-45.png
- How to use mkds tools on a linux distribution/Screenshot_from_2022-05-01_15-38-01.png
- How to use mkds tools on a linux distribution/Screenshot_from_2022-05-01_15-38-52.png
- How to use mkds tools on a linux distribution/Screenshot_from_2022-05-01_16-01-27.png
- How to use mkds tools on a linux distribution/Screenshot_from_2022-05-01_16-04-44.png
- How to use mkds tools on a linux distribution/Screenshot_from_2022-05-01_16-14-10.png
- How to use mkds tools on a linux distribution/Screenshot_from_2022-05-01_16-26-44.png
- How to use mkds tools on a linux distribution/Screenshot_from_2022-05-01_16-31-56.png
- How to use mkds tools on a linux distribution/Screenshot_from_2022-05-01_16-32-27.png
- How to use mkds tools on a linux distribution/Screenshot_from_2022-05-01_16-36-35.png
- How to use mkds tools on a linux distribution/Screenshot_from_2022-05-01_16-40-04.png
- How to use mkds tools on a linux distribution/Screenshot_from_2022-05-01_16-46-16.png
| Version | Date Modified | Size | Author | Changes ... | Change note |
|---|---|---|---|---|---|
| 18 | 27-Feb-2024 20:27 | 11.316 kB | DylanzuDS | to previous | |
| 17 | 27-Feb-2024 20:25 | 11.318 kB | DylanzuDS | to previous | to last | |
| 16 | 02-May-2022 11:15 | 13.455 kB | Xgone | to previous | to last | |
| 15 | 01-May-2022 15:52 | 13.46 kB | Xgone | to previous | to last | |
| 14 | 01-May-2022 15:49 | 13.134 kB | Xgone | to previous | to last | |
| 13 | 01-May-2022 15:38 | 12.005 kB | Xgone | to previous | to last | |
| 12 | 01-May-2022 14:26 | 6.903 kB | Xgone | to previous | to last | How to use Mkds modding tools in a linux distribution ==> How to use mkds tools on a linux distribution |
| 11 | 01-May-2022 14:25 | 6.903 kB | Xgone | to previous | to last | |
| 10 | 01-May-2022 13:49 | 6.178 kB | Xgone | to previous | to last | |
| 9 | 01-May-2022 13:16 | 4.232 kB | Xgone | to previous | to last | |
| 8 | 01-May-2022 12:43 | 1.091 kB | Xgone | to previous | to last | |
| 7 | 01-May-2022 12:41 | 0.883 kB | Xgone | to previous | to last | |
| 6 | 01-May-2022 12:27 | 0.215 kB | Xgone | to previous | to last | |
| 5 | 01-May-2022 12:27 | 0.223 kB | Xgone | to previous | to last | |
| 4 | 01-May-2022 12:27 | 0.224 kB | Xgone | to previous | to last | |
| 3 | 01-May-2022 12:23 | 0.146 kB | Xgone | to previous | to last | |
| 2 | 01-May-2022 12:19 | 0.022 kB | Xgone | to previous | to last | |
| 1 | 01-May-2022 12:18 | 0.007 kB | Xgone | to last |

JSPWiki v2.10.4